Shopware
Installation Instructions for the ProcardPay Payment Module for Shopware
This guide will help you quickly configure the ProcardPay payment gateway for your Shopware-based online store.
System Requirements and Preparation
Before starting the installation, please ensure that your server environment meets the minimum technical requirements:
| Component / Package | Minimum Version | Recommended / Tested |
|---|---|---|
| Shopware | 6.7 | 6.7.10.1 |
| PHP | 8.2 | 8.2 or higher |
Module Installation
Download the plugin archive.
Extract it to your Shopware site's plugin directory. By default, the path is as follows:
{your_domain}/custom/plugins/ProcardPayPayment/{plugin_files}ProcardPayPayment
├── src
├── vendor
├── CHANGELOG.md
├── composer.json
└── README.mdLog in to your Shopware store administration panel (usually
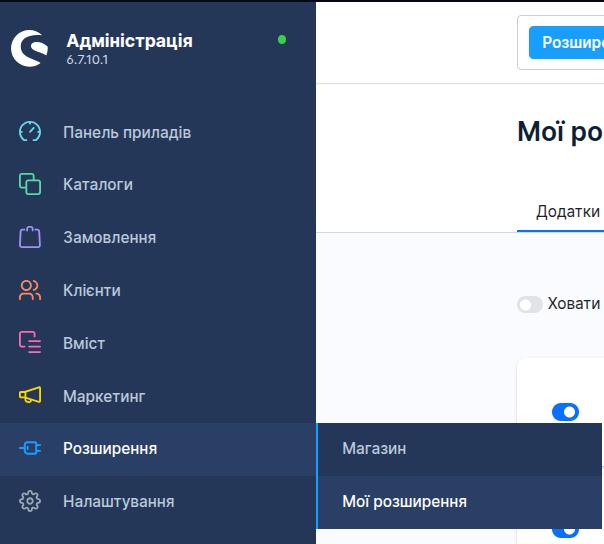
your_domain/admin).Navigate to Extensions->My extensions.
Find the ProcardPay Payment plugin in the list.
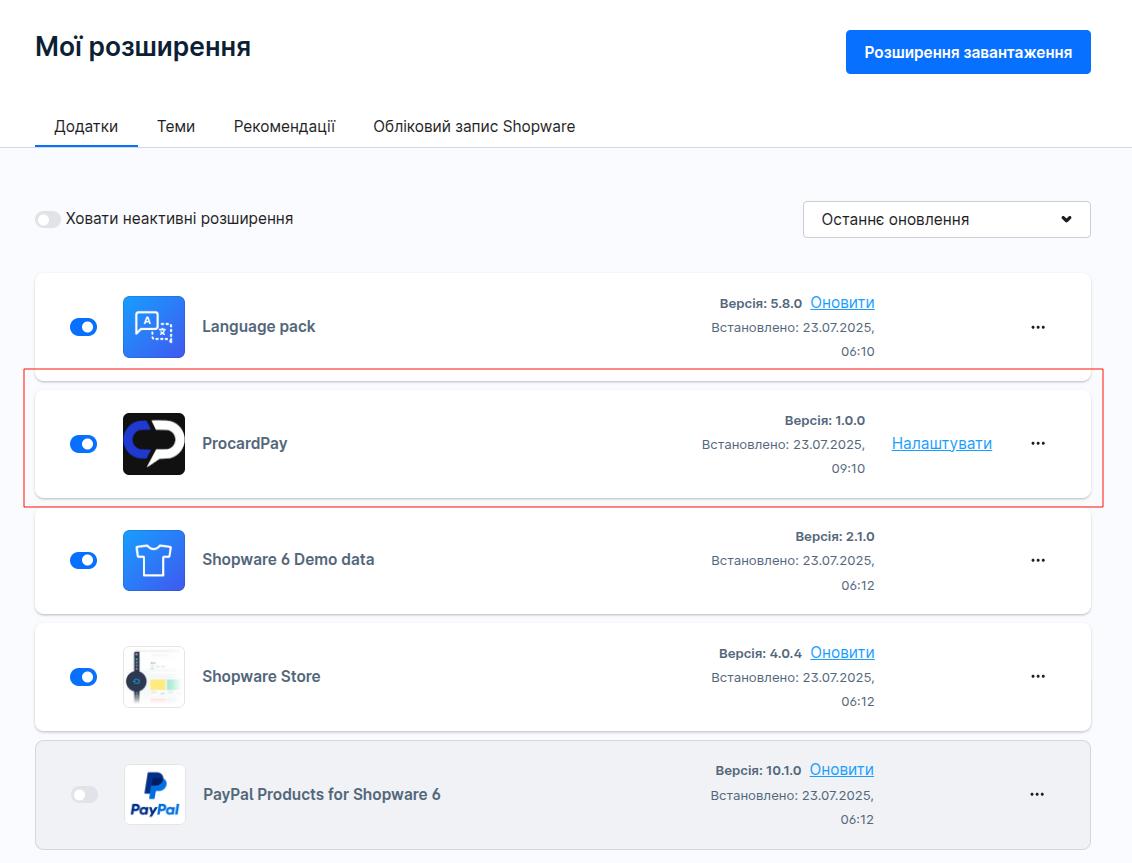
Install the plugin by clicking the Install button, and then activate it by clicking Activate.
Payment Gateway Configuration
Once the plugin is activated, it needs to be configured:
In the administration panel, navigate to Settings->Plugins.
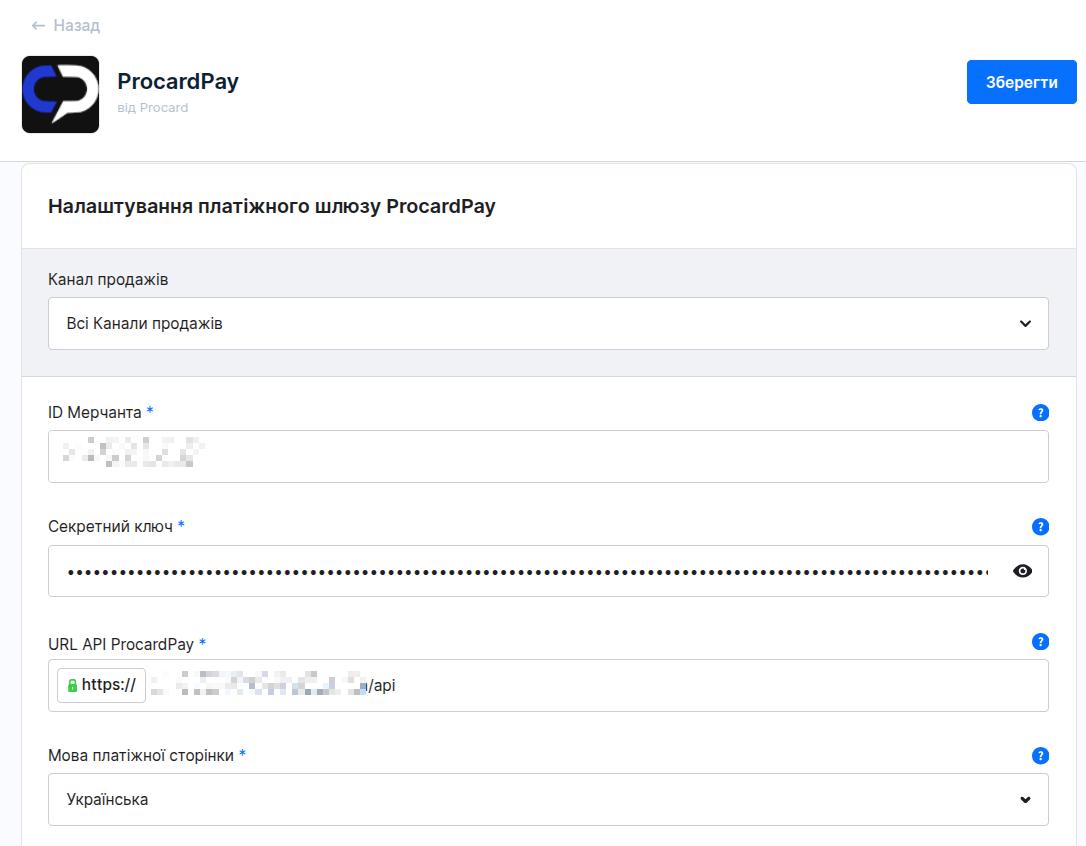
Find ProcardPay Payment in the list of installed plugins and click the Configure button or the pencil icon.
Enter the required details from your ProcardPay personal account:
- Merchant ID;
- Secret key;
- ProcardPay API URL.
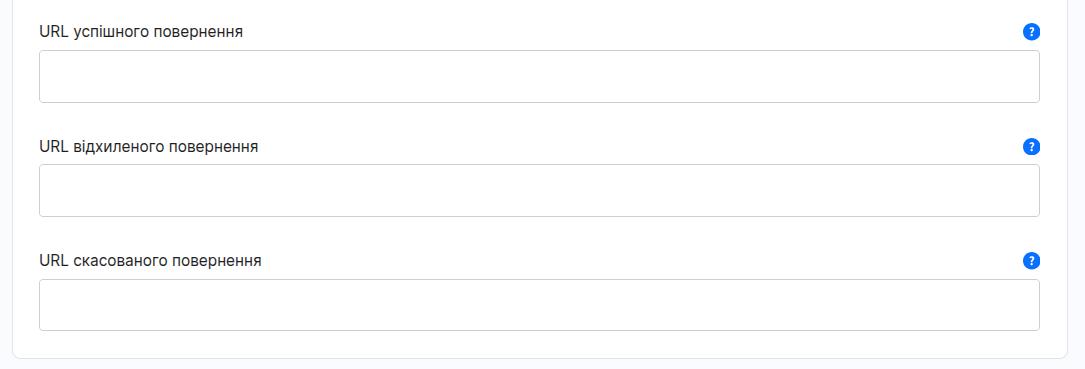
Configure order/transaction statuses. Select the transaction status that will be applied for:
- successful payments (approvedOrderStatus);
- failed payments (declinedOrderStatus);
- refunds (refundedOrderStatus).
Save all the changes made in the plugin configuration.
Testing and Verification
After saving the final settings, add any item to the cart and go through the complete checkout process to ensure that:
The currency and final total are passed to the gateway without errors.
Upon successful opening of the checkout form, the user can interact with the card interface.
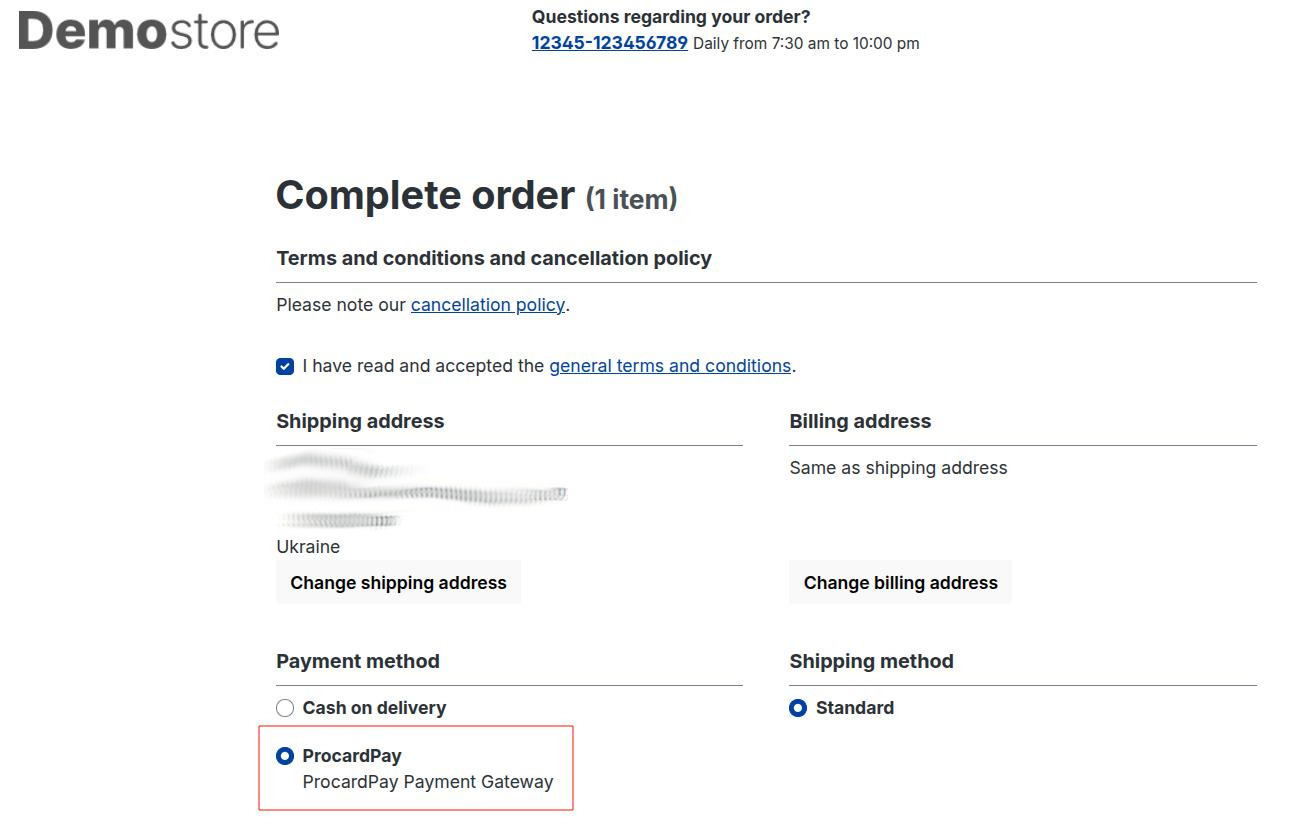
The module is fully ready for operation!